NoteLedger accepts PDF and XLSX reports exported from the Allied Servicing Corporation investor portal. You can import notes (portfolio data), payment history, and loan costs (servicing fees) — all without an API connection.
NoteLedger recognises five Allied report formats and detects the correct import category automatically:
| Report | File name (typical) | Auto-detected category |
|---|---|---|
| Portfolio Report | PortfolioReport.pdf / PortfolioReport.xlsx | Notes |
| Portfolio Summary Report | PortfolioSummaryReport.pdf / PortfolioSummaryReport.xlsx | Notes |
| Disbursements by CIF Report | DisbursementsbyCIFReport.pdf | Payments |
| Transaction History (HXPrint) | HXPrintBorrowerReport.pdf / HXPrintOnePageReportBorrower.xlsx | Payments |
| Passthru History Report | PassthruHistoryReport.pdf | Loan Costs |
Export the file from the Allied Servicing portal
Log in to the Allied Servicing investor portal and navigate to the report you want to import. Allied Servicing typically makes reports available as PDF downloads directly from the portal dashboard or from individual loan detail pages.
Download the report file to your computer. If you have the option to export as XLSX, that format is also accepted and may parse more reliably than PDF for Portfolio and Transaction History reports.
Do not rename the file or re-save it in a spreadsheet application before uploading — doing so can alter the sheet names and header keywords that NoteLedger uses to identify the report type.
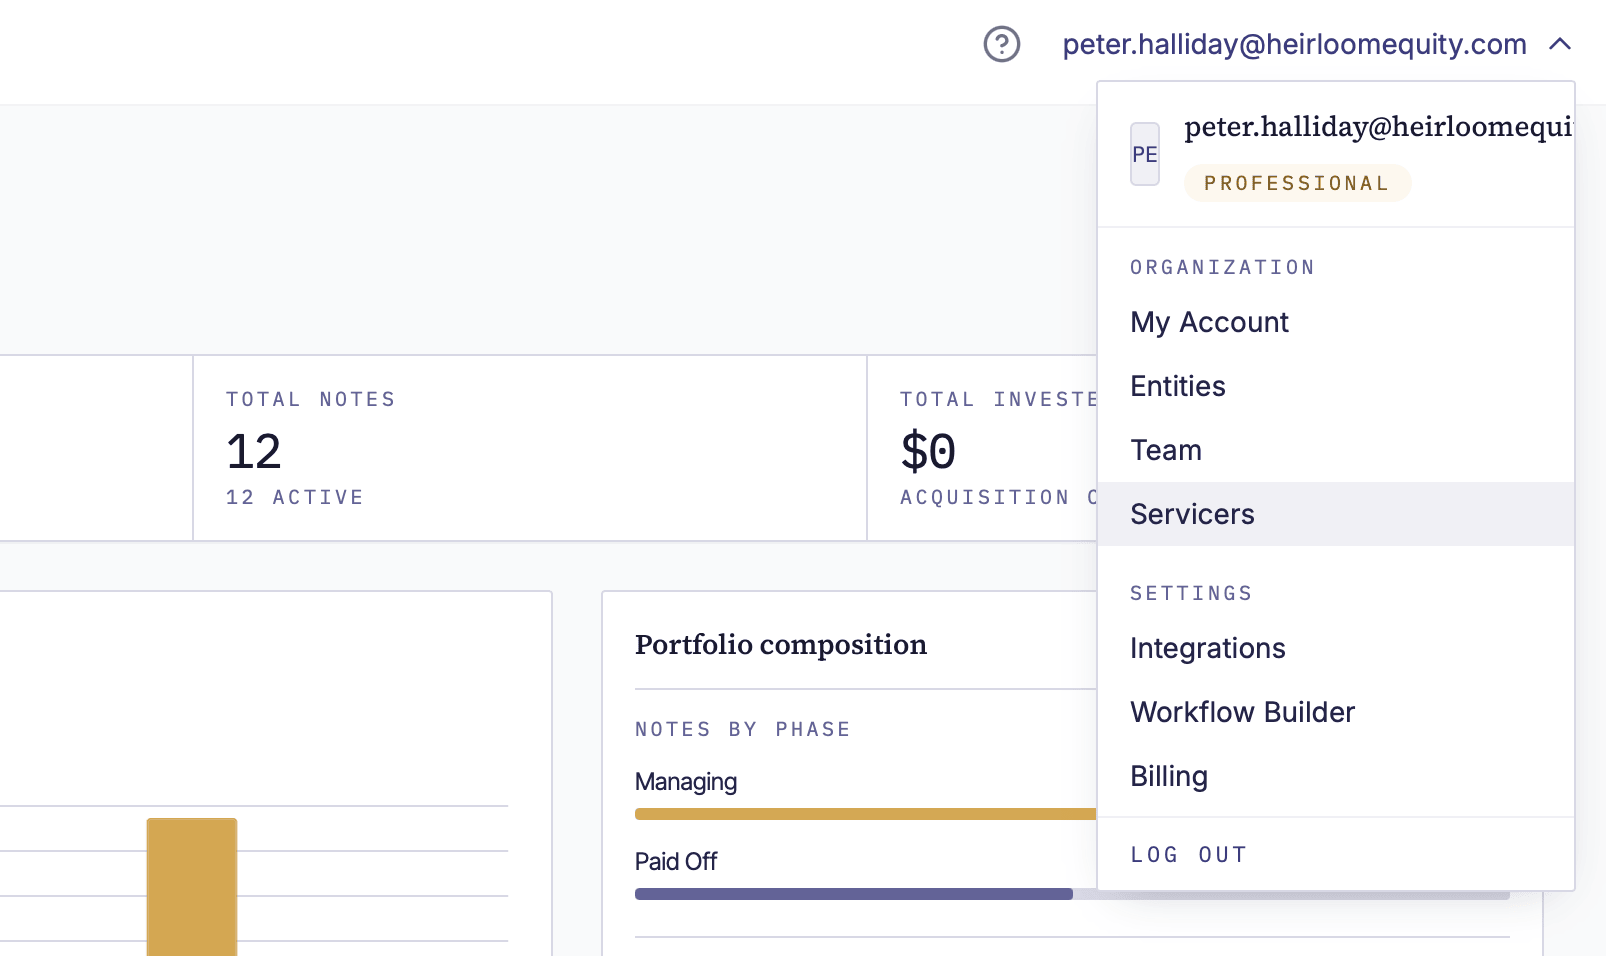
Navigate to Servicers
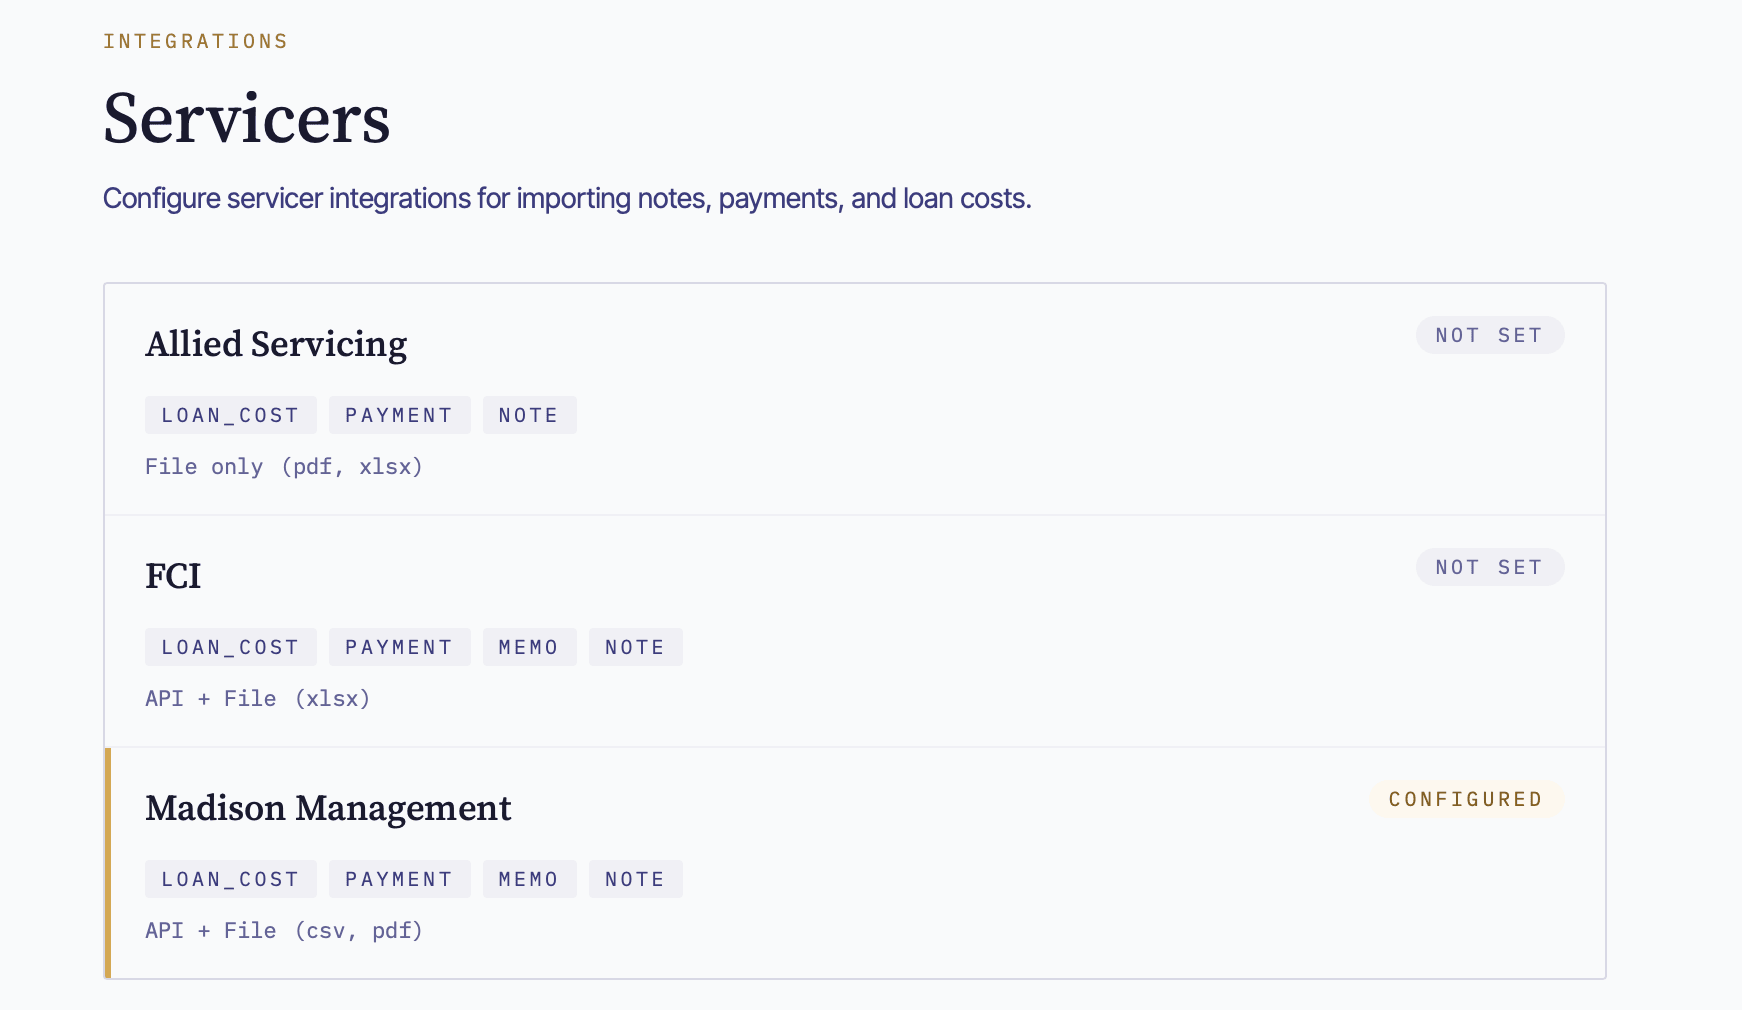
In NoteLedger, click your account name or avatar in the top-right user menu, then click Servicers in the dropdown. You will land on the Servicers page, which lists every servicer integration available in your account.
Open the Allied Servicing card
On the Servicers page, find the card labeled Allied Servicing and click anywhere on it to open the Allied Servicing detail page.
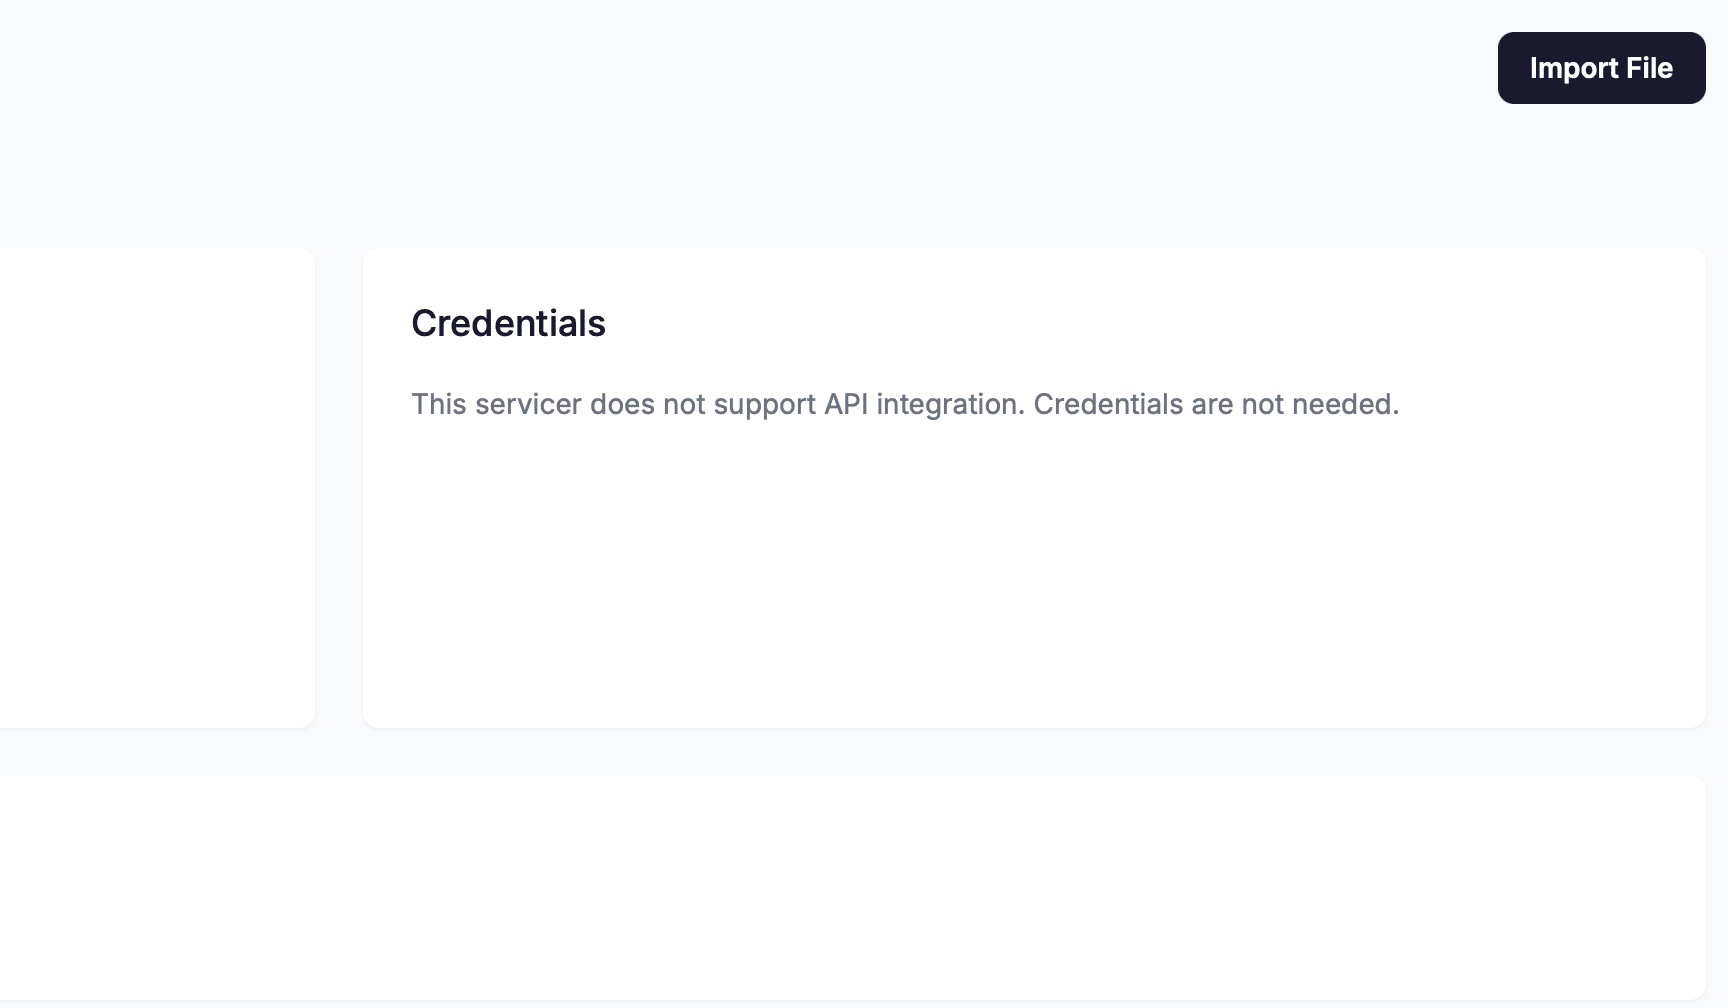
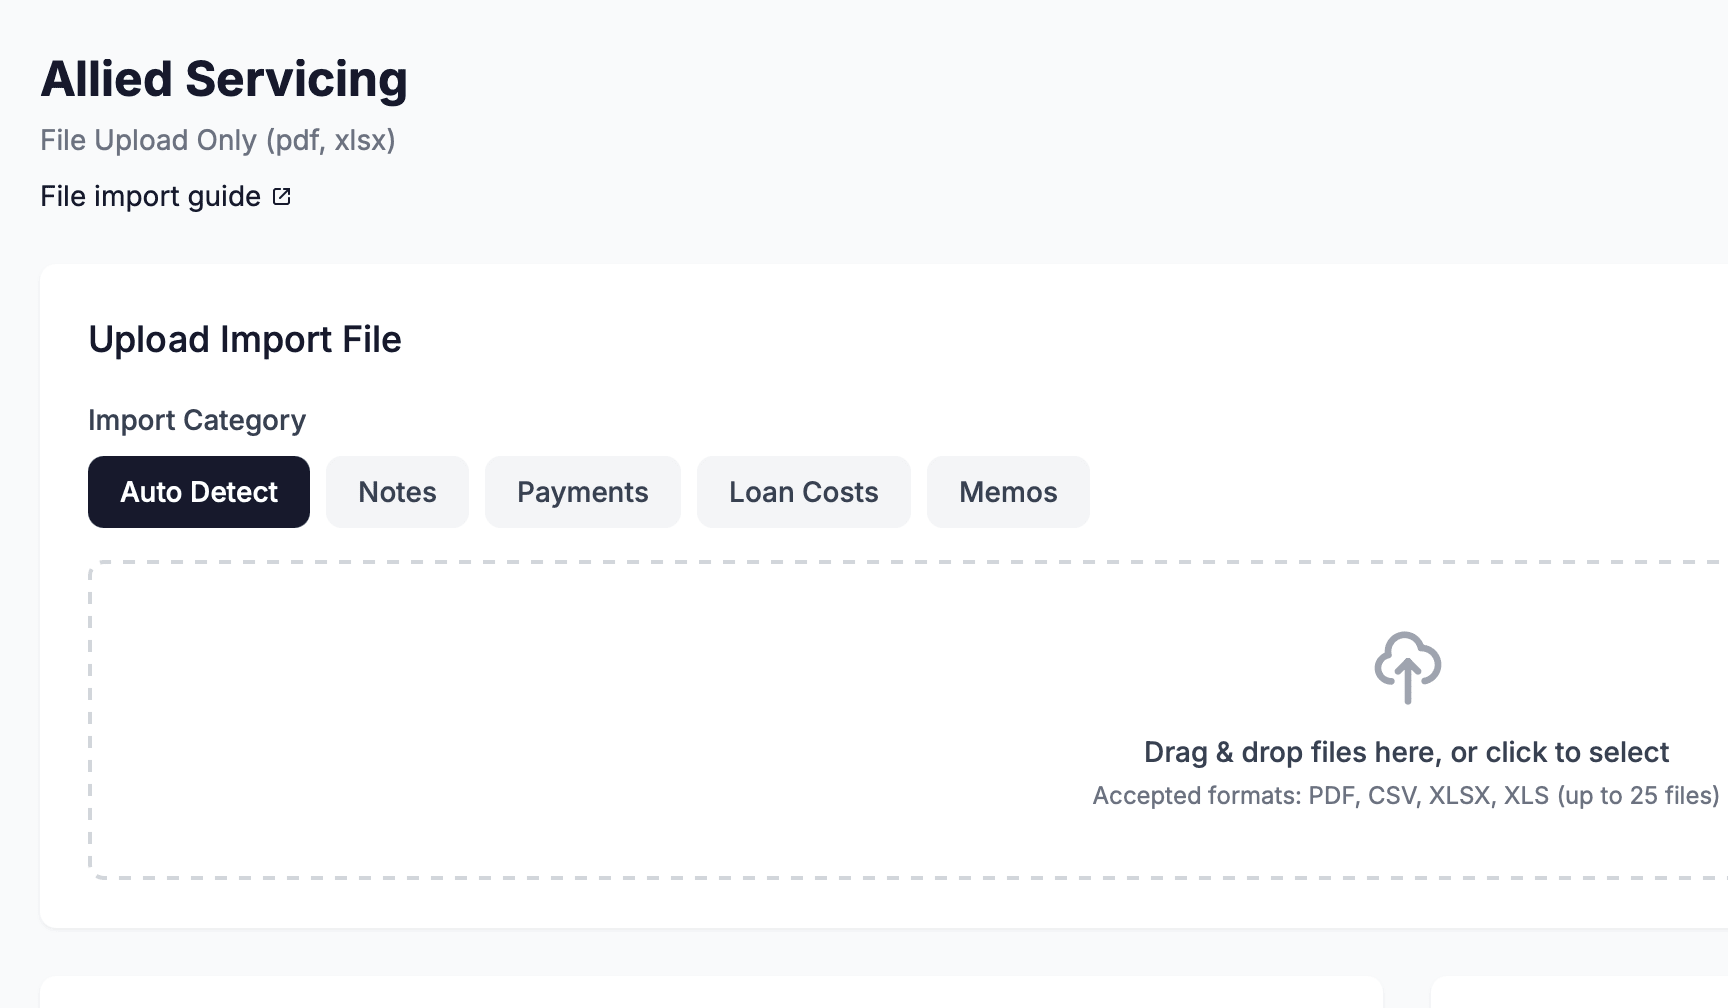
Click Import File
On the Allied Servicing detail page, look at the top-right area of the page header. Click the Import File button. The page switches to the Upload Import File panel.
Select an Import Category and drop the file
The Upload Import File panel has an Import Category row with the following choices: Auto Detect, Notes, Payments, Loan Costs, and Memos. Leave it set to Auto Detect — NoteLedger reads the report title, sheet name, and column headers from the Allied file to determine the correct category automatically.
Drag your PDF or XLSX file onto the file-drop zone, or click inside the zone to open a file picker and select the file.
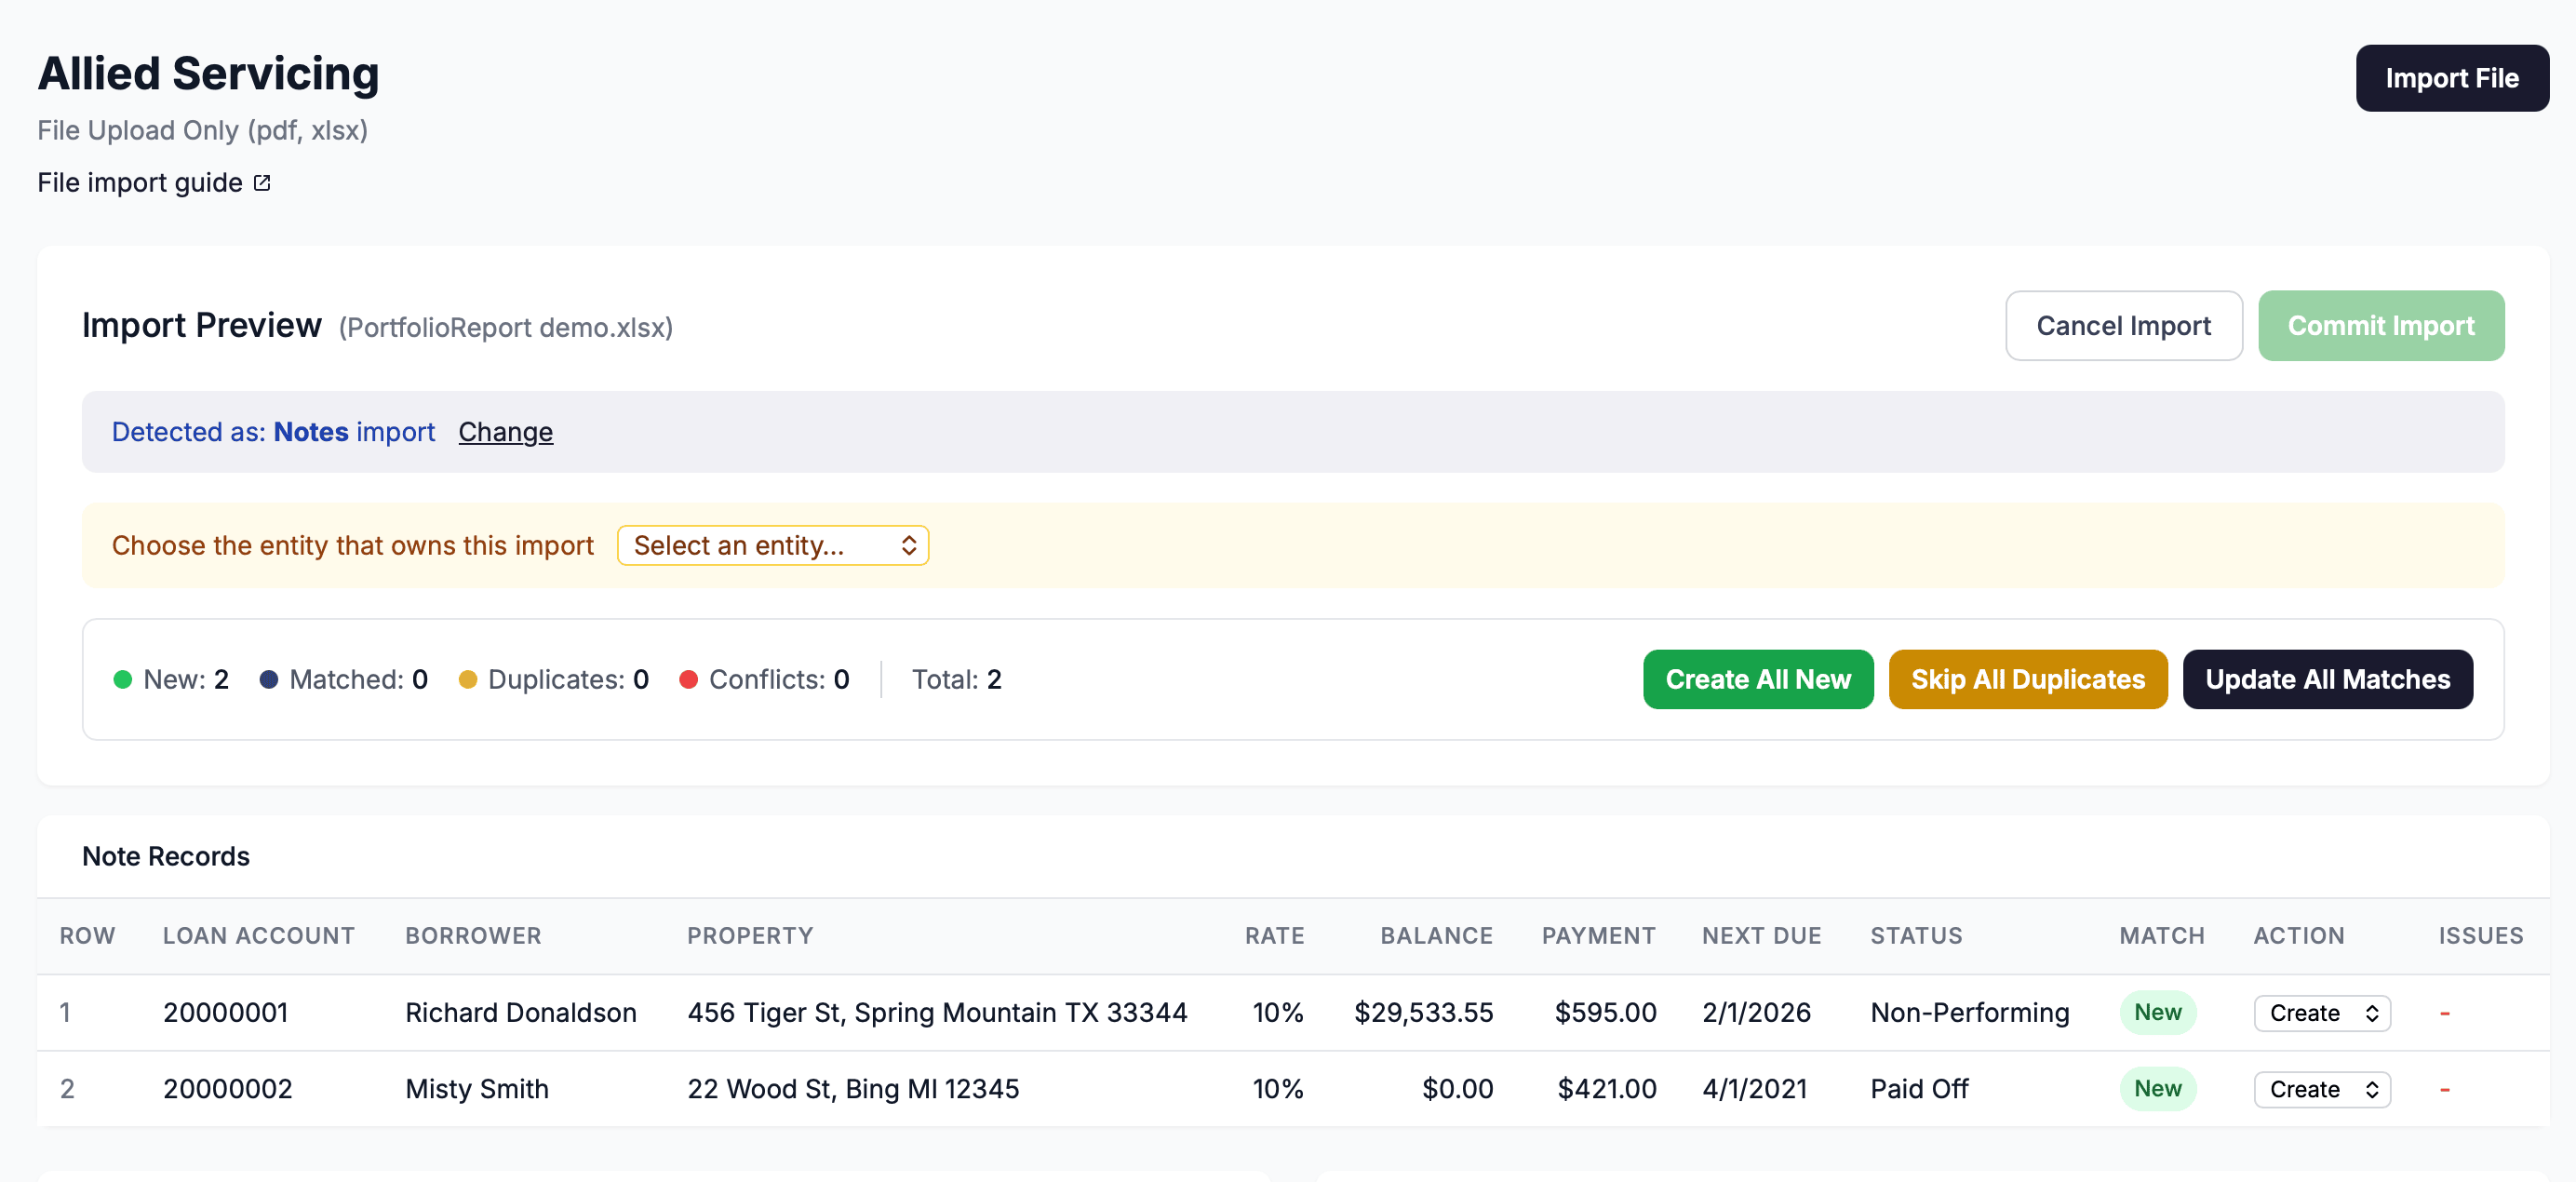
Review the Import Preview
After the file uploads, NoteLedger parses it and opens the Import Preview panel. A blue banner at the top of the panel confirms the auto-detected category, for example: "Detected as: Notes import."
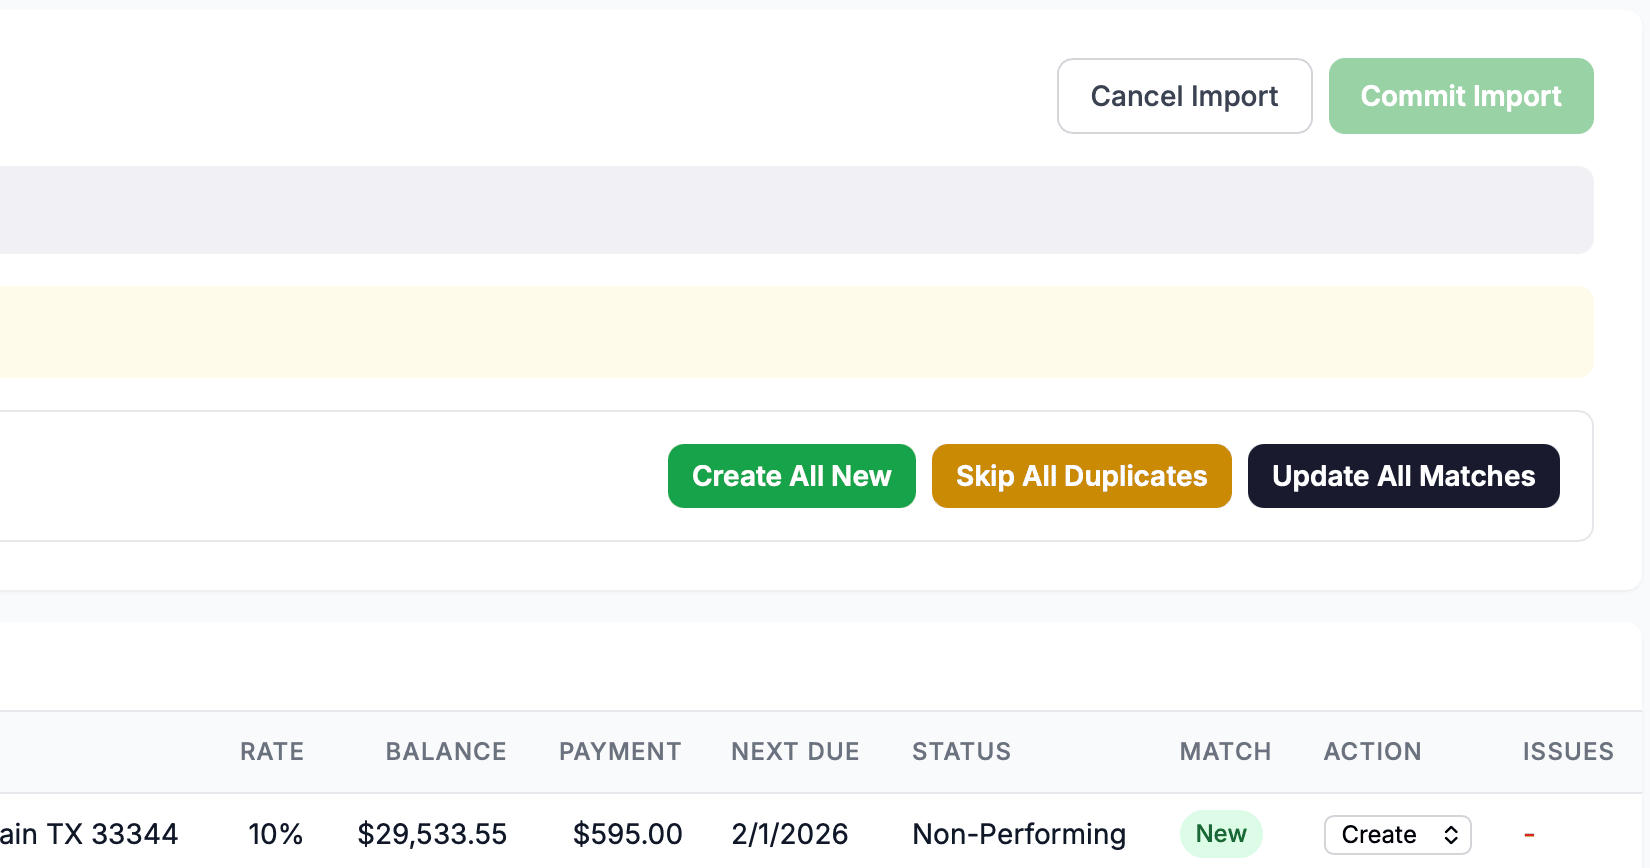
Each row in the preview table has an Action dropdown with three options:
- Create — a new record will be created for this row.
- Update — an existing record that matched this row will be updated.
- Skip — this row will be ignored during the commit.
NoteLedger pre-fills the action based on whether it found a matching record in your account. You can change any row's action before committing. Use the bulk action buttons above the table to set all rows to the same action at once.
For Notes imports, NoteLedger displays an entity selector at the top of the preview. Allied portfolio reports do not contain an investor identifier, so NoteLedger cannot auto-detect which holding entity the import belongs to — pick the correct entity from the dropdown before clicking Commit Import. If your account has only one entity, it is selected automatically. The Commit Import button stays disabled until an entity is selected.
Click Commit Import
When you are satisfied with the row actions, click the Commit Import button in the top-right of the Import Preview panel. A progress indicator appears while NoteLedger writes the records.
Review the Import Results
When the commit finishes, the page shows the Import Results panel with five summary tiles: Total, Created, Updated, Skipped, and Errors. A status badge in the top-right of the panel reads Completed (green), Partial (yellow), or Failed (red).
If there are any errors, an Error Details section appears below the summary tiles listing the row number and error message for each failure. Rows that errored are not saved — correct the source file and re-upload if needed.
Click Done to dismiss the results and return to the Allied Servicing detail page. Your import is also recorded in the Import History table at the bottom of the page for future reference.
