Workflows define the stages your records move through and the checklist items to complete at each one. The workflow builder lets you tailor these to how your team works — for notes, properties, and contact roles alike. This guide covers the shared mechanics; the per-record guides cover what's specific to each.
Open the workflow builder
In the top-right account menu, click your email, then open Workflows.
Edit a stage's checklist
Expand a stage to edit its checklist items. Add items, rename them, reorder them, and set an optional due date offset (days after the stage is entered). Checklist edits are available on Intermediate and above.

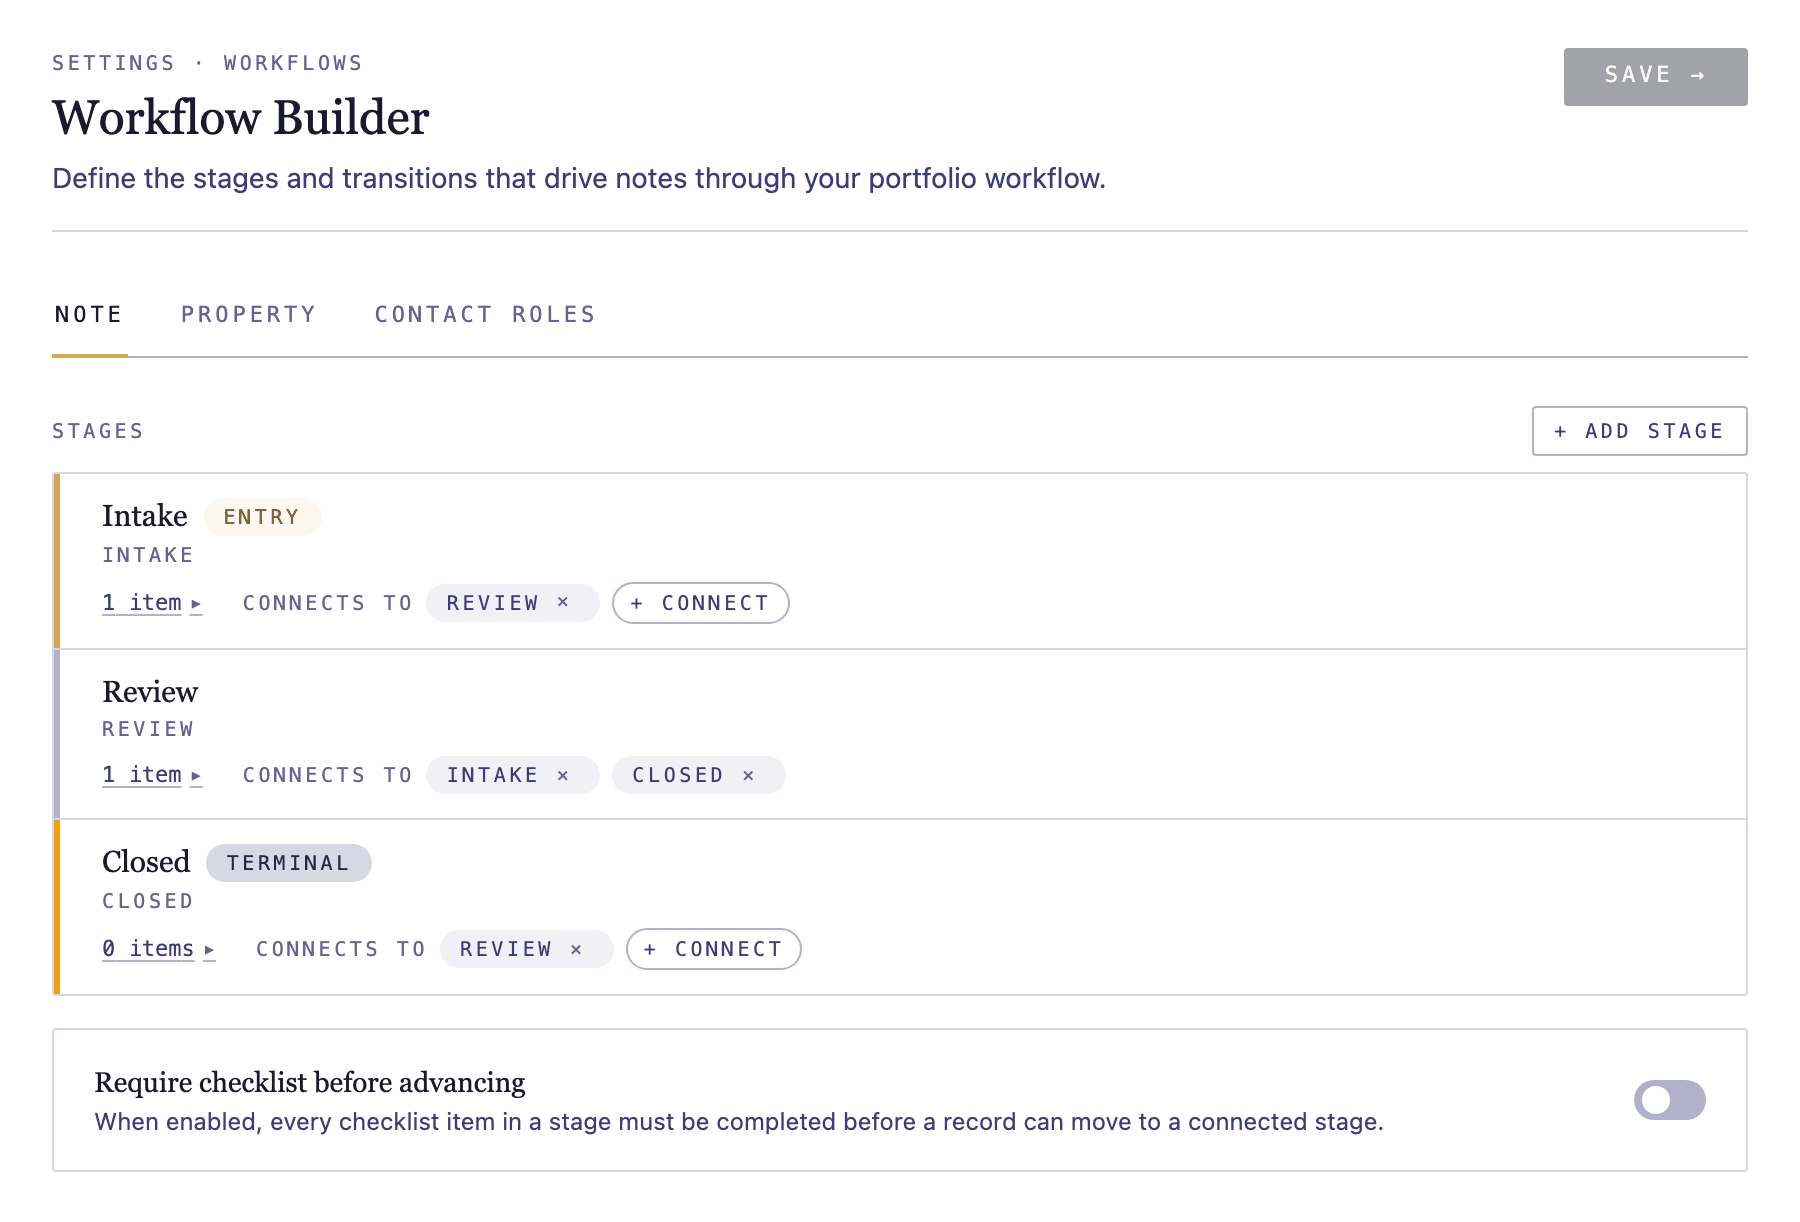
Add, rename, and reorder stages
On Professional, use Add stage to create a new stage. Give it a name, choose where it sits in the order, and connect it to the stages records move to or from.
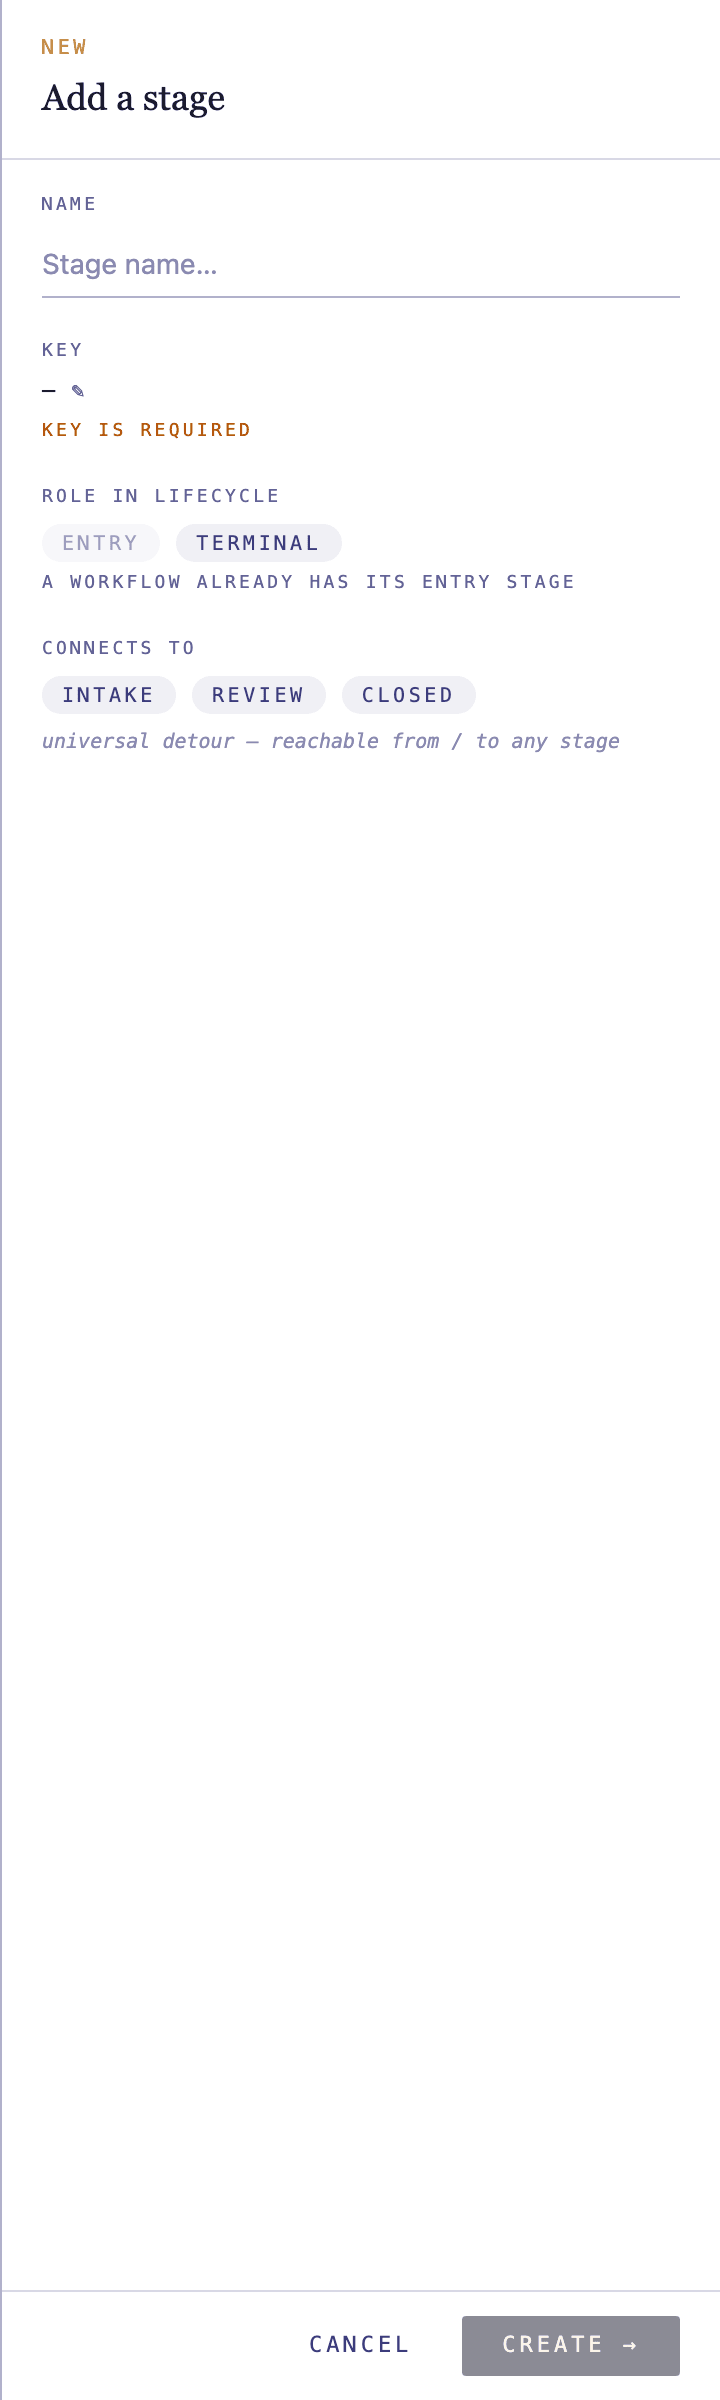
Connect stages and set entry and exit
Each stage shows the stages it connects to. Add or remove connections to control how records flow, and mark which stage is the entry point and which are terminal (end) stages.

Save your changes
Save when you're done. To discard edits to a single stage's checklist and return it to the default, use Reset on that stage.